主体框架
我们把首页的主体区域划分成三个区域:
- 文章列表
- 右侧边栏
- 公共底部
现在我们把DOM结构建立好:
<main>
<div class="main-container">
</div>
<div class="sidebar">
</div>
</main>
<footer>
<div class="footer-container">
</div>
</footer>
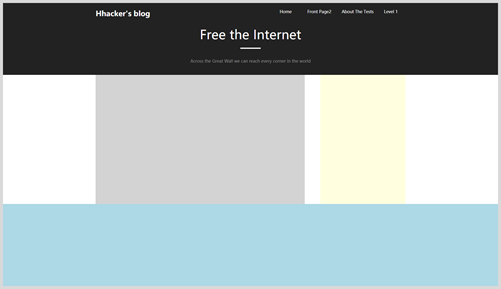
然后控制好宽度,添加一个背景色进行初步区分:
/* 内容区域 */
main {
width: 62.5vw;
display: flex;
margin: 0 auto;
justify-content: space-between;
}
.main-container {
width: 42.1875vw;
height: 26.0417vw;
background: lightgrey;
}
.sidebar {
width: 17.1875vw;
height: 26.0417vw;
background: lightyellow;
}
/* 公共底部 */
footer {
width: 100vw;
height: 16.6667vw;
background: lightblue;
}
.footer-container {
width: 62.5vw;
}
那么看起来我们的页面就是这个样子了:

现在我们把文章列表调出来:
<?php while (have_posts()) : the_post(); ?>
<!-- article -->
<article id="post-<?php the_ID(); ?>" <?php post_class(); ?>>
<!-- post thumbnail -->
<?php if ( has_post_thumbnail()) : // Check if thumbnail exists ?>
<a href="<?php the_permalink(); ?>" title="<?php the_title(); ?>">
<?php the_post_thumbnail(array(120,120)); // Declare pixel size you need inside the array ?>
</a>
<?php endif; ?>
<!-- /post thumbnail -->
<!-- post title -->
<h2>
<a href="<?php the_permalink(); ?>" title="<?php the_title(); ?>"><?php the_title(); ?></a>
</h2>
<!-- /post title -->
<!-- post details -->
<span class="date"><?php the_time('F j, Y'); ?> <?php the_time('g:i a'); ?></span>
<span class="author"><?php _e( 'Published by', 'html5blank' ); ?> <?php the_author_posts_link(); ?></span>
<span class="comments"><?php if (comments_open( get_the_ID() ) ) comments_popup_link( __( 'Leave your thoughts', 'html5blank' ), __( '1 Comment', 'html5blank' ), __( '% Comments', 'html5blank' )); ?></span>
<!-- /post details -->
<?php
add_filter('excerpt_more', function(){
return '...';
});
echo get_the_excerpt();
?>
<?php edit_post_link(); ?>
</article>
<!-- /article -->
<?php endwhile; ?>
这里需要注意的是,我们需要在循环中把文章列表的基本信息输出,包括题图、标题、分类、日期、概览等。
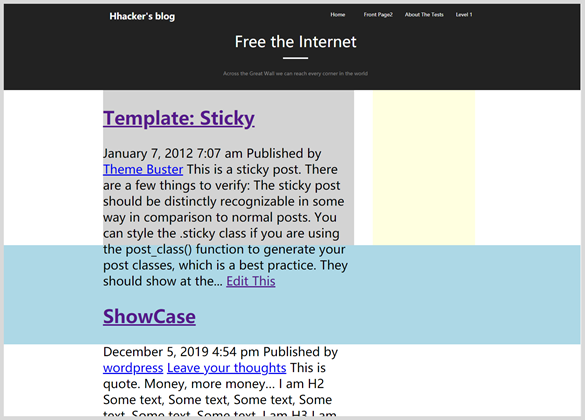

嗯嗯,没有题图显示出来,这可不好,我们在functions.php里把题图功能的主题支持开启:
function theme_support() {
add_theme_support('post-thumbnails');
}
add_action( 'after_setup_theme', 'theme_support' );
但是这样页面还是没有题图,因为我们压根就没有设置过题图/笑哭,那现在怎么办呢?我们在functions里写一个方法,如果没有题图,则取文章内的第一张图:
function my_post_thumbnail() {
$img_url = wp_get_attachment_url(get_post_thumbnail_id());
if (!$img_url) {
$post = get_post();
// search for img src=""
preg_match_all( '/<img.+src=[\'"]([^\'"]+)[\'"].*>/i', $post->post_content, $matches );
$img_url = isset( $matches[1][0] ) ? $matches[1][0] : null;
// search for style background url(cover image block)
if (!$img_url) {
preg_match_all( '/(?:url\([\'\"]?)(.*?(\.png|\.jp[e]?g))(?:[\'\"]?\))/i', $post->post_content, $matches );
$img_url = isset( $matches[1][0] ) ? $matches[1][0] : null;
}
}
return $img_url;
}
当然了,为了增加用户的选择性,后期我们把这个取第一张图片的功能在后台主题自定义里弄个开关参数,让用户可以关闭这个功能,这样就可以不在列表里显示文章里的图片。
现在我们开始整理整理列表信息结构,去除一些无用的内容,按照我们需要的结构整理DOM,首先我们把题图显示出来,这里需要注意我们使用了AMP技术,无法直接使用img标签,而应该使用amp-img标签。
<?php if ($thumb = my_post_thumbnail()): ?>
<div class="title-img">
<amp-img class="contain"
src="<?php echo $thumb?>"
layout="fill"
>
</div>
</amp-img>
<?php endif; ?>
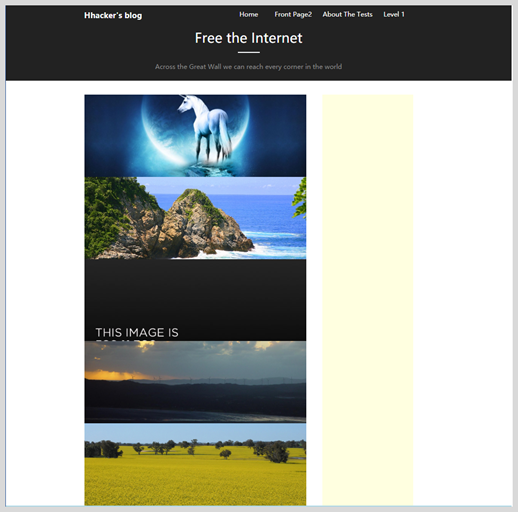
然后加上css让它自适应宽高,这里我们用了object-fit:cover属性让图片自动裁剪保持比例(不变形):
.list-box {
width: 100%;
display: flex;
flex-direction: column;
}
.title-img {
width: 42.1875vw;
height: 15.625vw;
position: relative;
}
.title-img amp-img.contain img {
object-fit: cover;
}
现在我们的页面看起来就像这样:

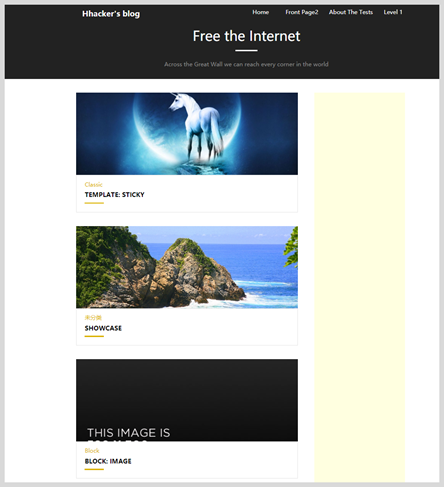
我们现在完成文章所属分类和标题:
<div class="post-info">
<?php $category = get_the_category();echo '<a class="post-cate" href="'.get_category_link($category[0]->term_id).'">'.$category[0]->cat_name.'</a>'; ?>
<h2 class="post-title">
<a href="<?php the_permalink(); ?>"><?php the_title(); ?></a>
</h2>
<div class="title-split">
</div>
</div>
再加上CSS,这里我们使用了text-transform: uppercase;让英文标题字母全部大写,现在我们的页面看起来像这个样子:

接下来我们输出文章的摘要信息,一般就是截取文章头部的一段文字:
<div class="post-excerpt">
<?php echo get_the_excerpt() ?>
</div>
但是这样输出的话,excerpt末尾的省略符号是[…]这样的,我们的期望是…,我们又跑到functions.php里对这个尾部进行定义:
// setting excerpt
add_filter('excerpt_more', function(){
return '...';
});
这样我们的文章摘要就是像这样了:
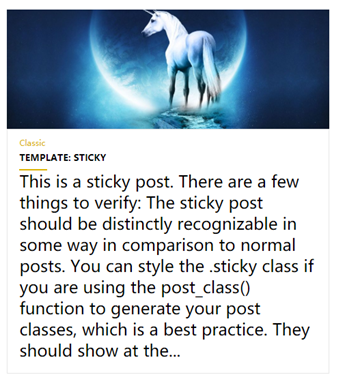

这里通过传参给get_the_excerpt方法,还可以控制摘要的字数。
现在我们加上CSS,就得到了这样的页面:
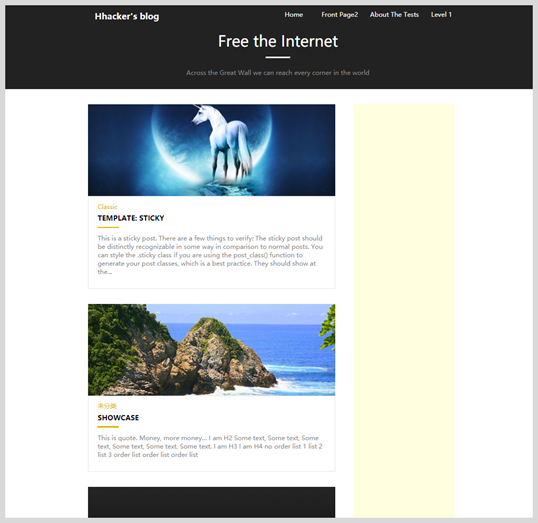

目前为止进展顺利,但是我们还有许多工作要做,今天就先到这里啦~~
总结和预告
今天我们大致实现了首页的文章列表,明天我们将引入新的元素——iconfont,使用iconfont我们让首页的文章列表完成度达到100%,这包括按钮、评论数等信息,还有最重要的,程序员的最爱:分页。
如果你喜欢这个系列的文章,赶快关注我们(数字江湖异志录)吧,不要错过后续的更多干货噢。